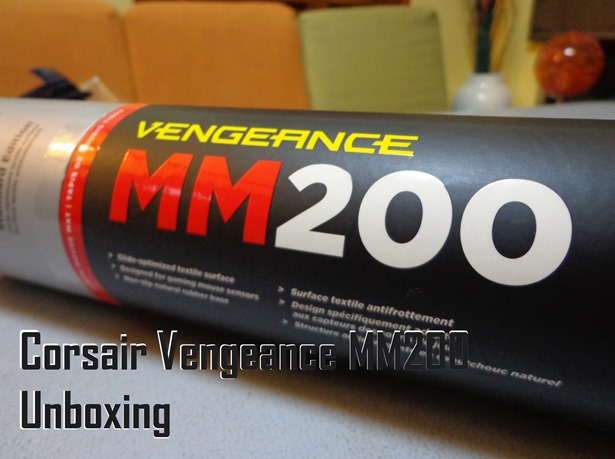
Corsair Vengeance MM200 Unboxing

I had gone through at least 5 mouse mats through my life. These range from free cd-r king plastic-like top mouse mats to high grade hard surface matts. Each of these had their own graphic designs ranging from weird polka-dots to plain shiny black.

Now you’ll be thinking, “Are you crazy?! All mouse mats are the same and they do the job like any other mats out there!”, all I can say is “NO”.

Mouse mats are like the bacon, oh yes BACON, of your breakfast. Without it, breakfast will never be as satisfying as one with it. There are different kinds of bacon, some maple coated, some honey cured and some are smoked and each one of these are great based on your personal preference. Much like in a mouse mat, you’d only want the one that will suit you best, and not your 10 year old CoD playing brother that calls everyone that kills him a “noob”.

Mouse mats are different, I can’t stress this enough. Some mats are hard surfaced, and some are soft. Some include wrist rests and some don’t. Some are over priced, that when you use it, it feels very weird, and some come cheap, but looks to perform and suit your style better.

What I got for you today is a mouse mat that costs only Php 570 (about $13) but performs like a champion compared to a Php 900 mouse mat.

This is the Corsair Vengeance Mouse Mat 200 Standard Edition.

DSC03788

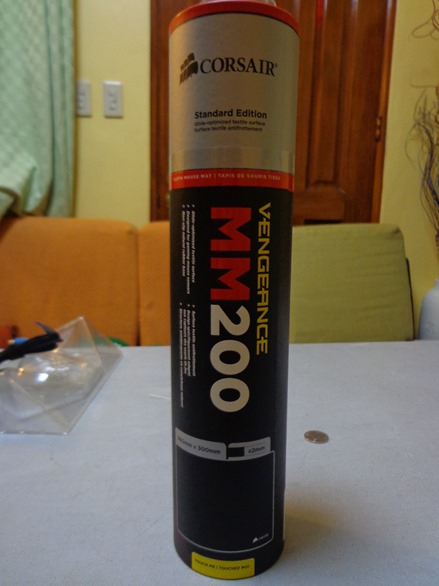
The package is very presentable. It looks very appealing to the eye and also looks sleek.

At first glance I thought, “How will a Mouse Mat fit in there? I mean, it might not roll flat at my desk after sliding it out of the package!”. I thought wrong after I unboxed unrolled it actually.

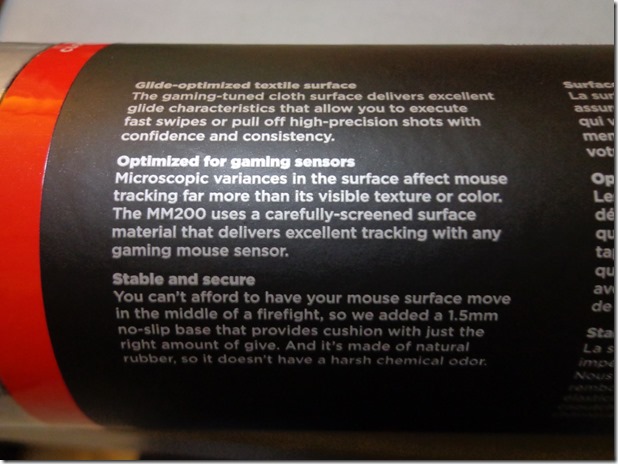
DSC03793

You can read the important features right there on the box. Click the photo for the full resolution!

The package doesn’t say much about the mat because it really is just a mouse mat. It’s not a flying carpet that you would see in that Disney movie.

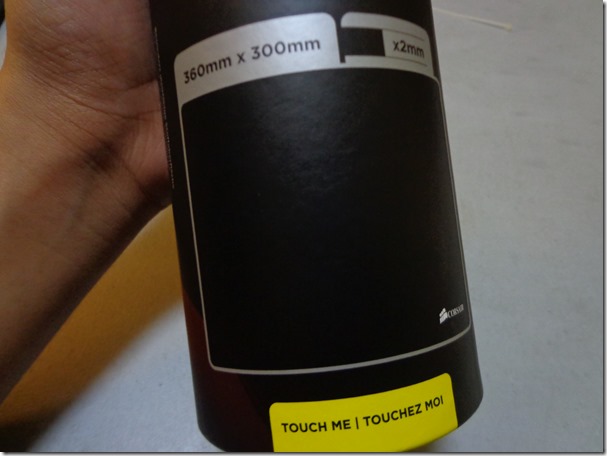
DSC03794

The mouse mat’s dimension is 360mm x 300mm. I didn’t really see this one coming because I knew that standard sized mouse mats are smaller than that.

The bottom says “Touch Me”….

There is actually a round piece of the actual mouse mat underneath the package for you to test out the texture of the mat.

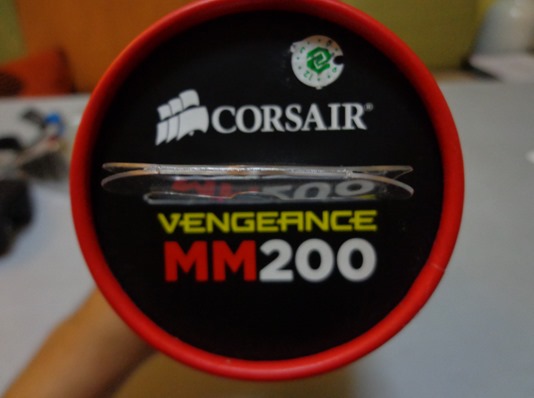
DSC03795

Here’s the top of the package.

Corsair’s design of this package really looks appealing to the eye with the red, white and yellow color combination. +1 to Corsair for that!

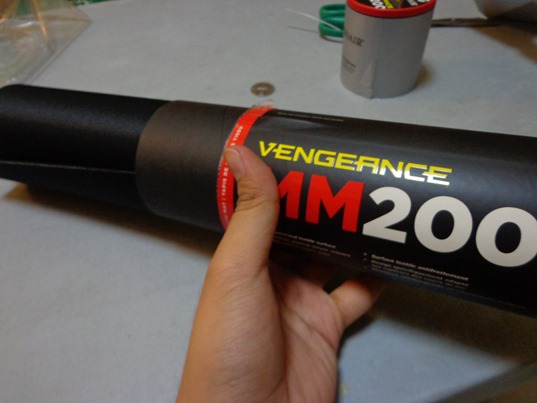
DSC03796

Here’s the selfie picture of the Vengeance MM200 as I slide it out of the package.

DSC03798

Here is the only content of the package. The MM200.

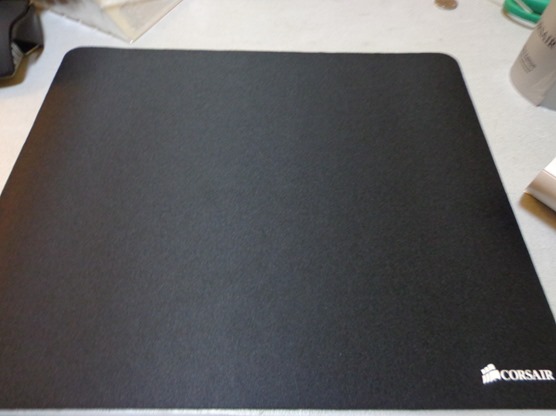
The mouse mat has no other graphical design other than the Corsair logo on the bottom right of the mouse mat. The whole mouse mat is black, as you may have noticed by now, and just the way I like it.

This does not look like a standard size mat as I thought it would be, but it’s fine. It’s bigger than my past mouse mat, Razer Vespula.

DSC03799

Here’s a size comparison of my left hand and the MM200. As you can see, this mat is really HUGE for a standard sized mat.

The soft mat feels very nice to the touch and looks pretty well built.

DSC03800

And here’s a size comparison of the Corsair Vengeance M65 mouse and the MM200. It looks and feels really nice, that’s all I can say.

I would  definitely recommend this mouse mat to anyone who wants to experience a gaming grade mat with a very plain, but nice, black finish.

Here’s a close up shot of the mouse mat, if you guys want to see how it looks like up close.

DSC03873

My other unboxings:

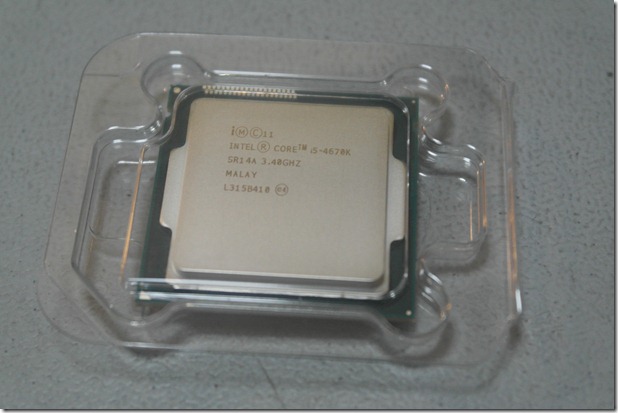
Intel i5-4670k Haswell Unboxing

Intel Core i5-4670k Unboxing


Gigabyte Z87-D3HP Unboxing

Gigabyte Z87-D3HP Unboxing


Corsair Vengeance M65 Unboxing

Corsair M65 Unboxing

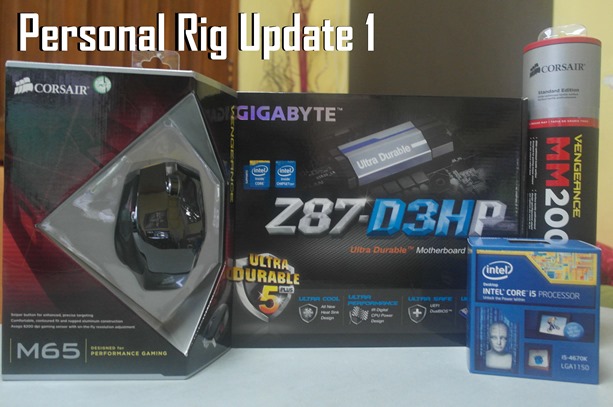
Check out my Personal Rig Update 1!

Personal Rig Update 1

Don’t forget to hit that “like” and “Tweet” button for Facebook and Twitter, it helps me out a lot!
Follow my blog to keep yourself up to date with my posts!
Corsair M65 Unboxing

After my Razer Imperator broke down on me and raised it’s white flag after 3 years of use, the time has come for me to replace it with another. Normally, if I liked a product, I would still buy the same type. Even though I did like the Razer Imperator’s performance, the lifespan was just too short for me since paying for a premium gaming mice should also mean a longer life span.

After scouring the internet for a replacement, I came across Corsair’s M65. The Corsair M65 is the successor of another gaming mouse by Corsair, named M60.

comp

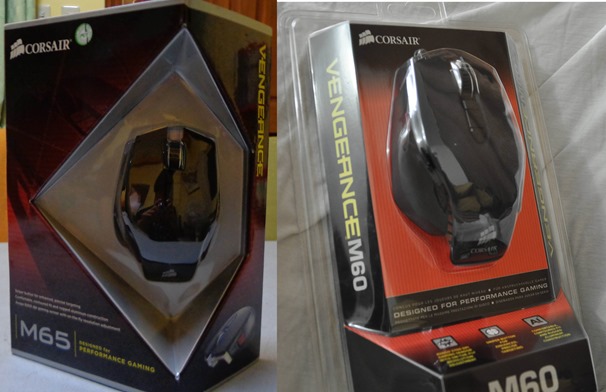
The difference between the M65 (left picture) and the M60 (right picture) other than the packaging:

                              M65                           vs                             M60

           Better laser sensor at 8200 DPI                                 5700 DPI

  Better button switches at 20 million clicks                         8 million clicks

            3 Different mouse models                               1 Black mouse model

That’s the only thing that I noticed and read that have changed. But correct me in the comments if I missed something.

DSC03790

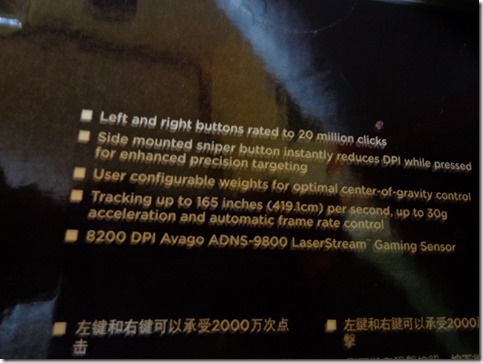
The back of the box contains the features of the M65

=> Left and right buttons rated to 20 Million Clicks
– This is great for durability!
=> Side mounted sniper button instantly reduces DPI while pressed for enhanced precision targeting
– I change this to be my grenade button ‘cause I don’t really need to reduce DPI while sniping
=> User configurable weights for optimal center-of-gravity control
– There are 3 weights
=> Tracking up to 165 inches (419.1cm) per second, up to 30g acceleration and automatic frame rate control
=> 8200 DPI Avago ADNS-9800 LaserStream Gaming Sensor
– You don’t really need this unless you run surround monitors. I ‘m currently at 1200 DPI

DSC03783

Inside the box you’ll find:

=> The M65 mice
=> The Quickstart Guide
=> Warranty Card

DSC03786

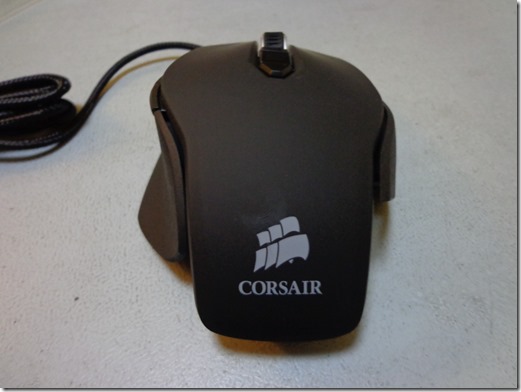
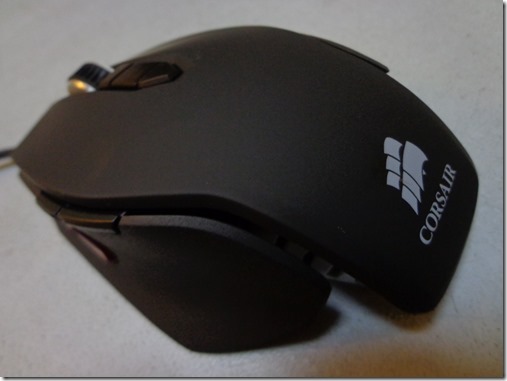
Here’s the mouse’s back view with the Corsair Logo

DSC03784

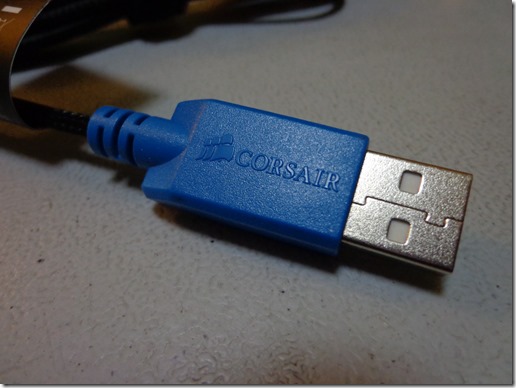
The USB connector is colored blue. I personally like it like this so that I know what to pull out when I need to take the mouse out for LAN parties.

DSC03785

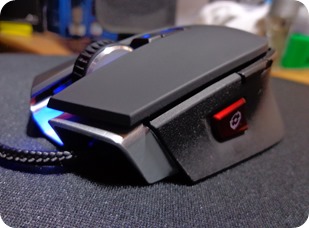
The top and side parts of the mouse is made of a thick layer of plastic and feels extremely rugged.DSC03857

The top part has 2 buttons for increasing and decreasing the DPI. There is also a DPI Level LED on top so you know which setting you’re in. You can configure this when you download the Corsair Software at their website.

The left side includes 3 buttons, Two on the upper part of the mouse and one, the sniper button, on the middle part. The locations of the buttons are fine but the size felt awkward for me at first because my past mice, Razer Imperator, had a bigger button – but I got used to it after a few days.

The top part of the mouse is very smooth to the touch but the sides are like sandpapers. They are very useful especially when you try to lift the mice as it will be harder to slip off of your hands.

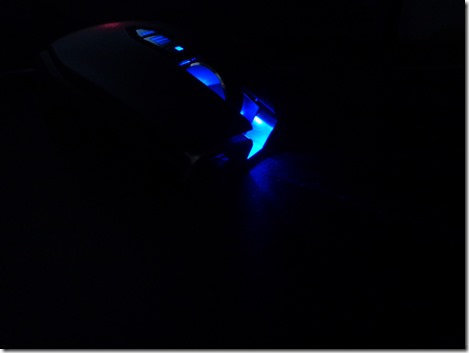
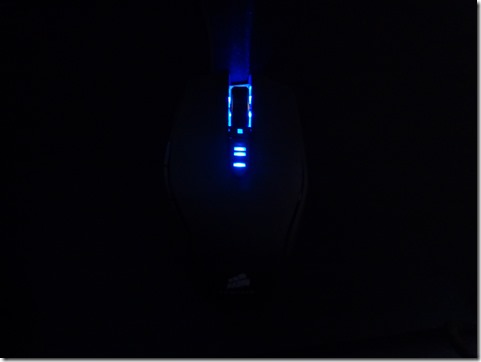
Here’s a shot of the mice in the dark.
Click for full resolution!

DSC03862

Here’s a Top view in the dark.

DSC03849

The LED makes a really cool light effect on the mat. It’s almost like a line that points where the front of the mouse is facing.

DSC03791

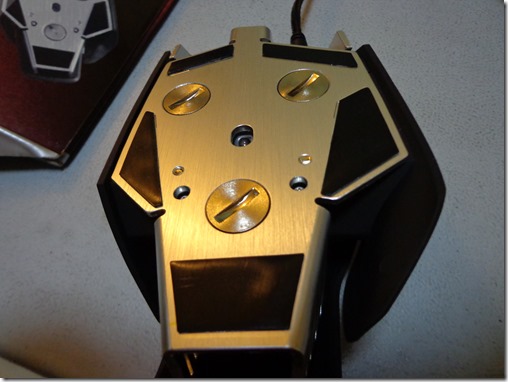
The bottom part is made of metal, but still feels really light even though the weights are installed.

After using this for two weeks, I can say that this is a really awesome mouse. So far, I have never encountered any issues with how the mouse handles and performs. Of course it will feel awkward for the first few days, but after a while, you’ll get used to the ambidextrous shape of the M65.

I would definitely recommend this to anyone who needs to get a new mouse with a decent price.

for more details on this mouse, visit: http://www.corsair.com/us/gaming-peripherals/gaming-mice/vengeance-m65-fps-laser-gaming-mouse-gunmetal-black.html

Here’s some more glamour shots of the Corsair M65
Click on the pictures for full resolution!

DSC03851 DSC03853

Some links that can help in choosing the right peripheral for you:

Razer Announces Battlefield 4 Products
(http://theplatformer.net/2013/09/17/razer-announces-battlefield-4-products/)
The Steelseries Siberia v2 Headset
(http://kingjeremychronicles.wordpress.com/2013/09/03/the-steelseries-siberia-v2-full-headset/)
Geeklife: Tech Stuff! Fun Stuff! (Oculus Rift)
(http://ngeeklife.wordpress.com/2013/09/06/geeklife-tech-stuff-fun-stuff/)

More unboxings to come soon!

Don’t forget to hit that “like” and “Tweet” button for Facebook and Twitter, it helps me out a lot!
Follow my blog to keep yourself up to date with my posts!
Personal Rig Update 1

SAMSUNG CSC

The time has come for an upgrade!

The smell of new hardware, it just never stops me from getting all happy and giggle, like a child opening a new Lego set.

After 5 years, my Intel Core 2 Quad Q8400’s life with me has come to an end. After all of the games and multi-tasking stuffs that I have done with it, from Counter-Strike 1.6 to Battlefield 3 and from Windows Movie Maker to Sony Vegas Pro 11, it’s time to bid goodbye.

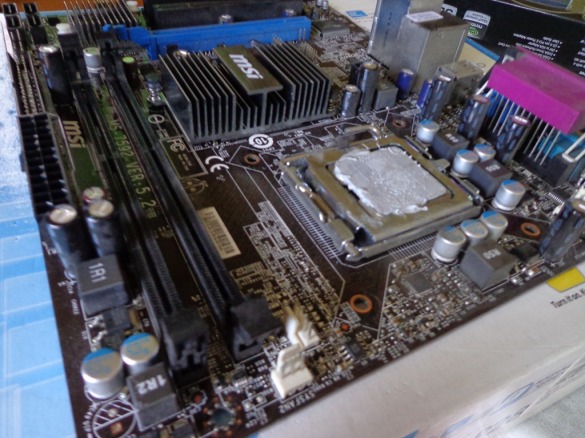
Here’s the last photos of him as I cleaned my computer. I got kind of frustrated when I saw the amount of thermal paste that the guys from PC Express has installed on the processor. It’s just too much, that’s why my cooler doesn’t get all the heat from the processor, hence the overheating.

Old Proc

Anyways, here are the photos of my new rig!

4

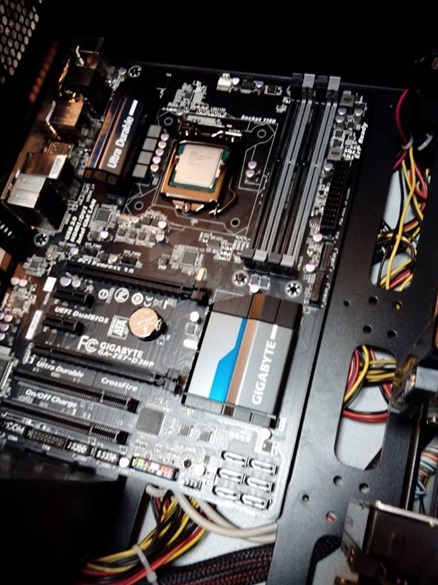
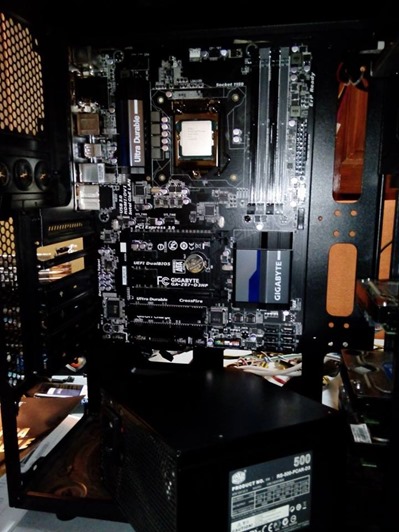
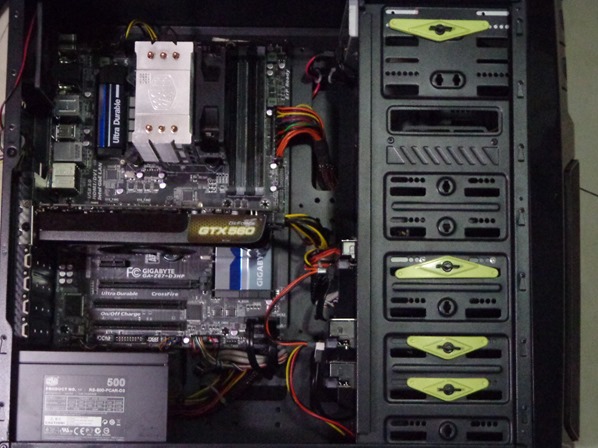
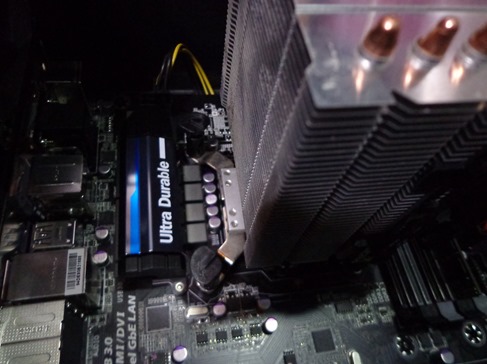
The Motherboard looks so sleek inside my Gigabyte GZ-G1 case and those blue accents from the heatsink complements well with the black board.

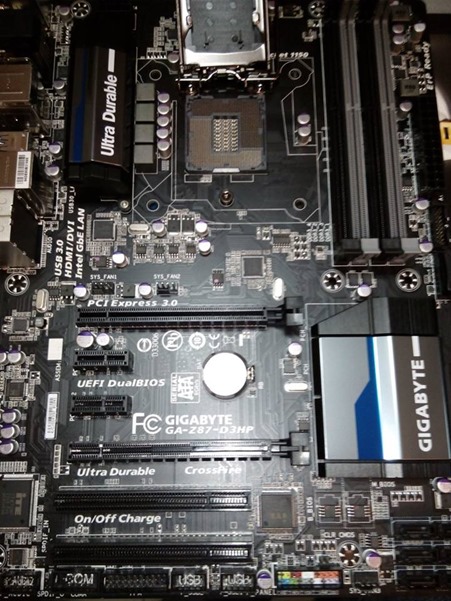
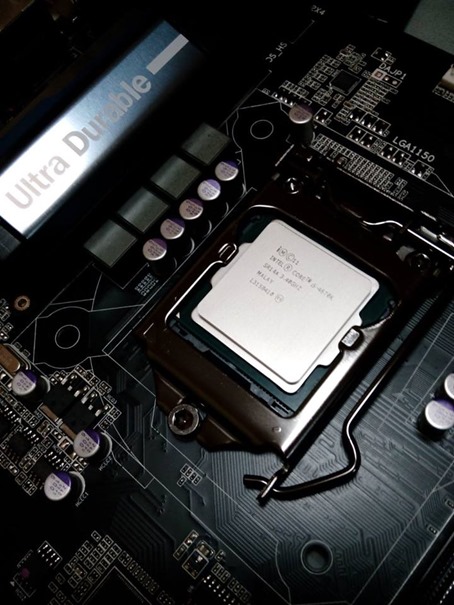
Here’s a close up of the board before placing the processor.

7

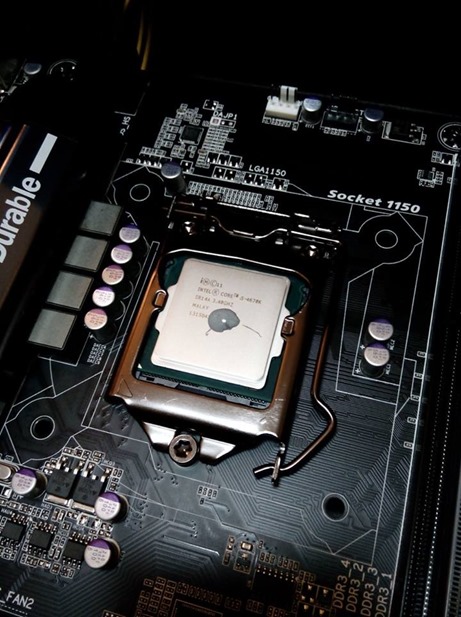
And here’s a shot after.

5

Here’s when I applied the thermal paste on the processor.

It should be noted that only a pea sized amount should be applied because these stuff will spread when you finally apply the cooler. You don’t want the paste to go over the metal shield and onto the processor chip, it will not end well with your newly bought Haswell processor.

16

After putting on the thermal paste it’s time to put on the cooler. Then onto CABLE MANAGEMENT.

Cable management, as they say, is an art. Although it’s just arranging cables on the back of the chassis/case to make the front look nice and tidy, this procedure also helps the air flow inside your case. Proper cable management can help reduce 1 – 2 Celsius of total heat inside the case. It may not be too much, but it WILL help.

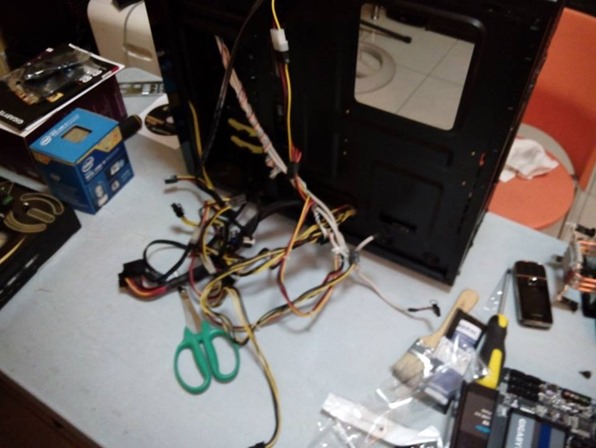
Here’s the shot of all the cables that I have to fix.

8

2

Here’s a blurred shot of me connecting the front I/O onto the motherboard. I hated this part, the front I/O are all separate pins and I have to insert it there one by one. Good thing the connectors were all color coded, hence the easy installation. +1 to Gigabyte for that!

10

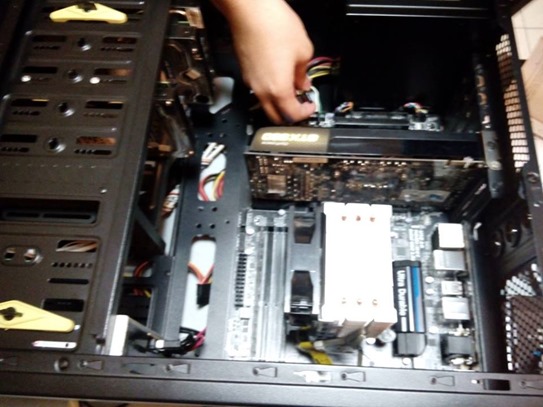
There’s my EVGA GTX 560 saying hi to everyone Open-mouthed smile

15

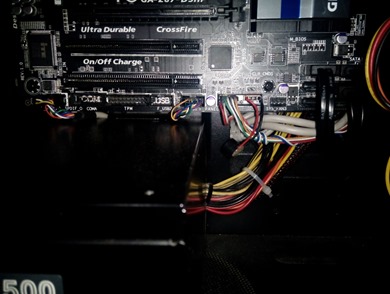
I routed the Front Panel audio connector and the Front USB 2.0 at the back then inside a tiny opening on the side of the Power Supply so that the cables won’t hang around on the front of the motherboard.IMG_20130921_110008

I also routed the Front Panel power button, reset button, HDD LED and Power LED on the back of the mobo then through a big hole beside the Power Supply.

For the SATA 6Gb connectors, I didn’t twirl it around like what the technicians did with my past build. I routed it at the back so that there won’t be any SATA’s hanging around in the front for the world to see.

Now for the main power.

IMG_20130921_110103

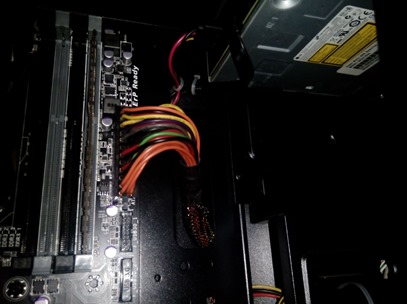
For the 24-pin ATX main power connector, I also routed it to the back and out just on the side of the connector so that it wouldn’t look messy.

And the finished product.

DSC03835

It still looked messy though because the Chassis doesn’t include the black rubber holes so that the back of the case, where cables will be routed and stored, won’t be seen.

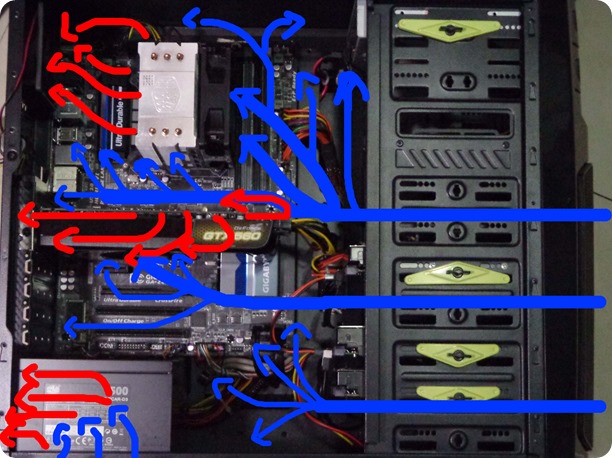
But still, at least there will be enough airflow through the case.

Here’s an airflow chart of my case. The blue arrows indicate the cold air, red’s indicate hot air.

I currently use negative airflow, which means that most of my fans are blowing air outside. Only my two Front 120mm fans are blowing air inside.

I have an 80mm fan on the top rear part of the case exhausting air from the chassis and another 2 120mm fan on the side panels that help exhaust air coming from the graphics card.

Negative airflow also allows less dust buildup inside the case because less dust is being sucked in by the fans.

Here’s the new stickers that I got from the upgrade!

IMG_20130921_110249

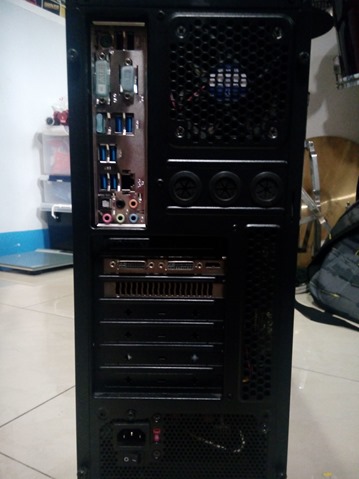
And here’s a picture of the rear of my chassis.

IMG_20130921_110706

Here’s some more glamour shots of the new build. You can click on the image to view the full resolution!

DSC03836

DSC03837DSC03838

IMG_20130921_105846_1

DSC03826

If you guy’s still haven’t seen my parts unboxing yet, you can check it out here!

Intel i5-4670k Unboxing: http://wp.me/p3OBbF-2i
Gigabyte Z87-D3HP Unboxing: http://wp.me/p3OBbF-1Q

Some links that could be useful for your next build:

Affordable Desktop Options
(http://cwelizabethscott67.wordpress.com/2013/07/31/affordable-desktop-options/)
Building a Midrange PC
(http://thebytekitchen.com/2013/09/17/building-a-midrange-pc/)
Building a Gaming & Photoediting PC with Zach and Pat
(http://pattoole.wordpress.com/2013/09/20/building-a-gaming-photo-editing-pc-with-zach-pat-haswell-nvidia-700-series/)
Build a PC DOA Reviews
(http://wildwoodinfoblog.wordpress.com/2013/09/17/build-a-pc-doa-reviews/)

Peripherals that you can consider with your next builds:

Tech Unboxing and First Impressions: Razer Blackwidow Ultimate 2013
(http://thatreviewer.wordpress.com/2013/09/17/tech-unboxing-and-first-impressions-razer-blackwidow-ultimate-2013/)

I also updated the “My Rig” page on my blog! Check it out here!
(https://gamertechreviews.wordpress.com/about/my_rig/)

More unboxings to come soon!

Don’t forget to hit that “like” and “Tweet” button for Facebook and Twitter, it helps me out a lot!
Follow my blog to keep yourself up to date with my posts!
Intel Core i5-4670k Unboxing

SAMSUNG CSC

After the Ivy Bridge architecture, 3xxx, comes the Haswell architecture, 4xxx, where Intel introduced a low-power processor designed for convertible or ‘hybrid’ Ultrabooks. These processors are also used for desktop PC’s and gives out about 10% more performance than it’s predecessor, Ivy Bridge.

As with Intel’s “Tick Tock” releases, every “tick” is a shrinking of process technology of the previous microarchitecture and every “tock” is a new microarchitecture. The Haswell processors are the “Tock” which means it has a new microarchitecture in them, hence the change from LGA 1155 motherboards to LGA 1150 motherboard sockets.

You can click on the photos to see the full resolution!

Now, onto the unboxing!

SAM_1812

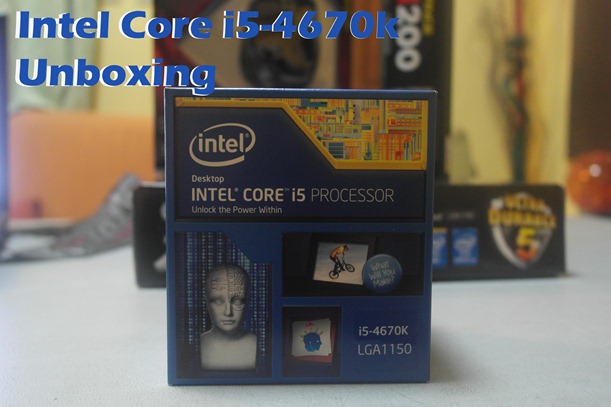
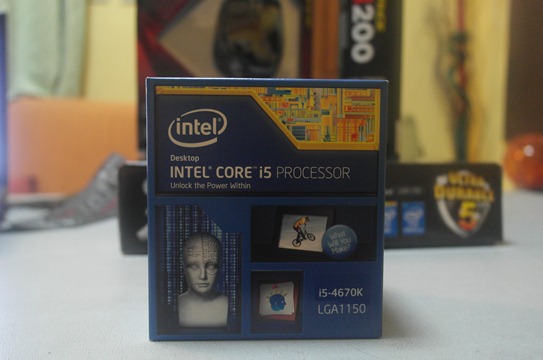
The front of the box contains a complete redesign of Intel’s boxed processors. The important nomenclatures that you’ll find in front:

=> A quote about Intel Core i5 processor which says “Unlock the Power Within”
=> It now features a scary looking human head with some writings that indicates the parts of the human brain
=> A guy biking inside a picture frame with a nomenclature saying “What will you make?”
=> Another human head with a spiked mohawk hairstyle.
=> A sticker on the lower right side of the box saying “i5-4679K LGA1150”
=> “K” means Unlocked processor. You can overclock this beast to your likings!

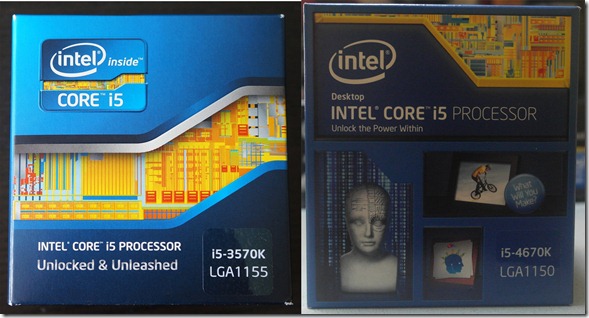
Here’s a side-by-side comparison of the i5-3570k and the new i5-4670k box designs.

compar

Moving on to the left side of the box.

SAM_1815

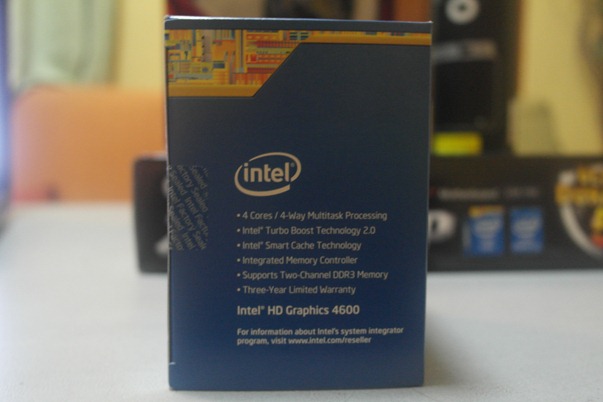
The left side has the list of the important features of this processor.

=> 4 Cores / 4-Way Multitask Processing
=> Intel Turbo Boost Technology 2.0
– This boosts the Clock speed of your processor from 3.4GHz to 3.8GHz whenever you need it.
=> Intel Smart Cache Technology
=> Integrated Memory Controller
=> Supports Two-Channel DDR3 Memory
=> Three-Year Limited Warranty
=> Intel HD Graphics 4600

For full details, visit Intel’s product website: http://ark.intel.com/products/75048/

SAM_1813

Now, a blurred shot of the right side of the box. It contains:

=> The technology numbers
– 3.4GHz, 6MB Cache, LGA1150
=> The Product code
=> All the other codes for tracking

SAM_1814

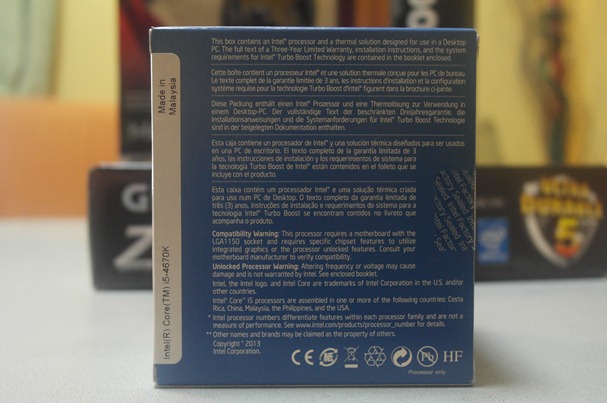
The back contains the description on what’s inside the box in many different languages and a compatibility warning. Click on the photo to see the full resolution and read from there, or just read it here.

=> This box contains an Intel processor and a thermal solution designed for use in a Desktop PC. The full text of a Three-Year Limited Warranty, installation instructions, and the system requirements for Intel Turbo Boost Technology are contained in the booklet enclosed.

=> Compatibility Warning: This processor requires a motherboard with the LGA1150 socket and requires specific chipset features to utilize integrated graphics or the processor unlocked features. Consult your motherboard manufacturer to verify compatibility

=> Unlocked Processor Warning: Altering frequency or voltage may cause damage and is not warranted by Intel. See enclosed booklet.

=> Intel Core i5 processors are assembled in one or more of the following countries: Costa Rica, Malaysia, The Philippines, and the USA.

Now on the top.

SAM_1816

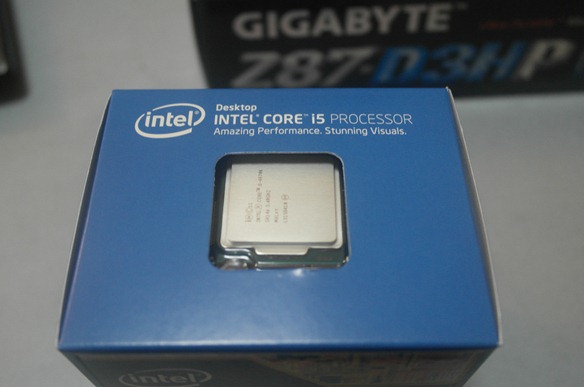
On the top, you’ll see the processor saying “Hi!” to everyone.

Now, for the contents.

SAM_1817

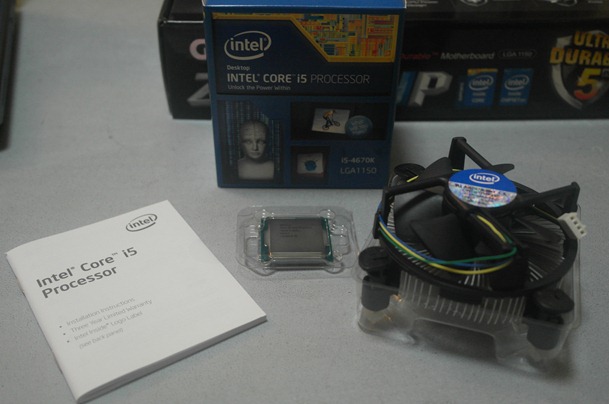
Inside the box, you’ll find three items:

=> The manual
– Includes the Warranty guide, Quick Start guide, The Features, and a Case Badge on the back.
=> Intel’s Thermal solution
– DO NOT USE THIS COOLER IF YOU PLAN ON OVERCLOCKING! I DON’T!
=> The processor
– It’s quite heavy for a small chip!

And for my favorite part.

SAM_1818

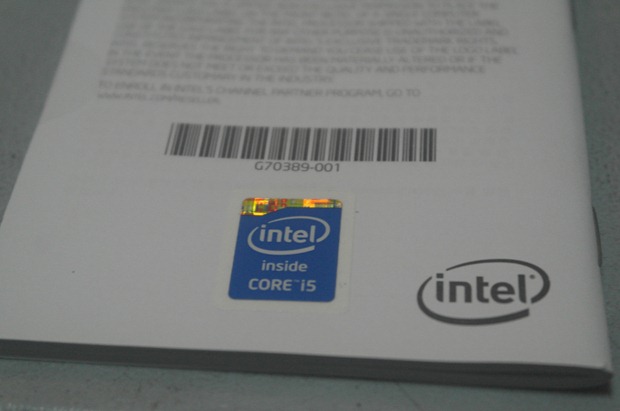
STICKER!!!! EVERYONE LOVES STICKERS!!!

The Case Badge is now a lengthwise-style sticker rather than the “boxy like” sticker from it’s predecessors.

Here’s a Glamour shot / close up of the processor!
Click on the photo for a bigger resolution picture!

SAM_1820

More unboxings to come soon!

Don’t forget to hit that “like” and “Tweet” button for Facebook and Twitter, it helps me out a lot!
Follow my blog to keep yourself up to date with my posts!
Gigabyte Z87-D3HP Unboxing

mobo

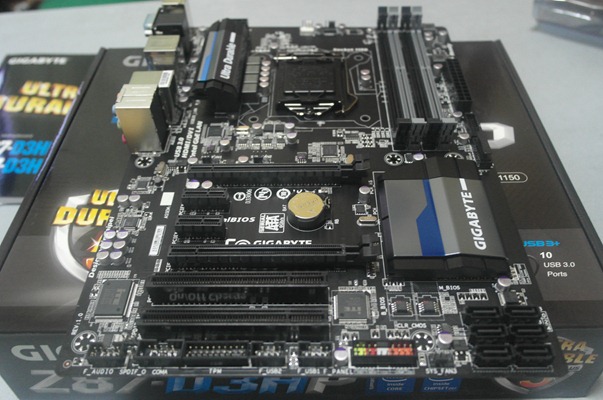
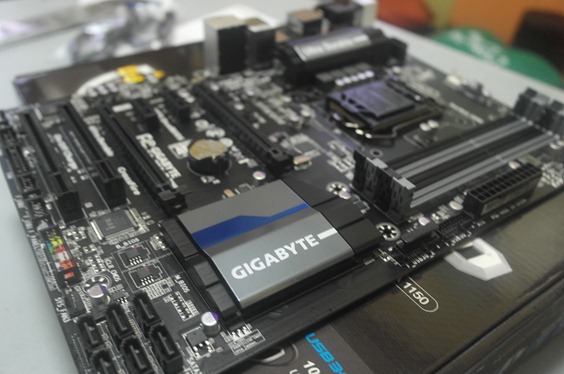
With Intel’s newly released Haswell CPU’s, featuring a new low-powered processor while still maintaining the 22nn die size, comes a new line of motherboard socket. The LGA 1150 motherboard is compatible with Intel’s newly redesigned microprocessors Haswell and, soon, Broadwell.

As with other Intel-made sockets, the LGA 1150 has 1150 protruding pins to make contact with the pads on the processor. AMD does this the other way around, the pins are embedded on the processor while the contact pads are on the motherboard.

Click on the images to see a bigger, more high-res, picture.

Now for the unboxing.

SAM_1803

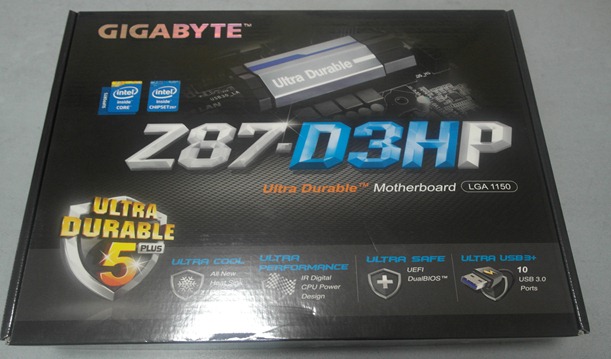
The front of the box contains the some of the important features of Gigabyte’s Z87-D3HP motherboard.
=> Ultra Durable 5 Plus
=> Ultra Cool
– All new heatsink design
=> Ultra Performance
– IR Digital CPU Power Design
=> Ultra Safe
– UEFI DualBIOS
=> Ultra USB3+
– 10 USB 3.0 Ports

SAM_1804

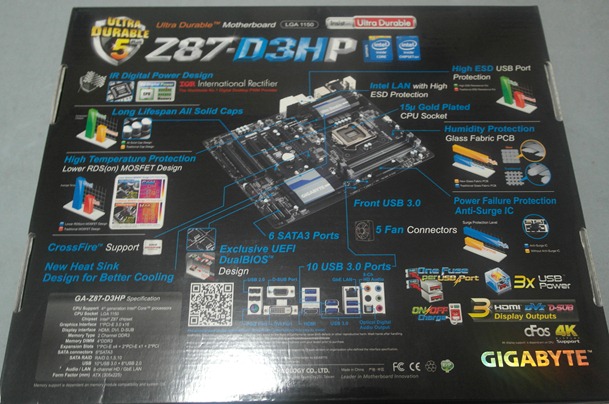
On the back of the box, you’ll see a more detailed look on every feature that this motherboard has. Click on the photo to get a closer look.

SAM_1805  SAM_1806

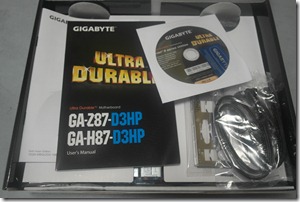
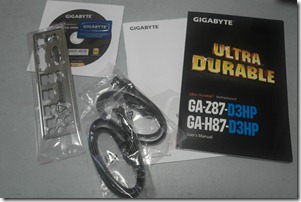
On the inside, you’ll see all the included accessories.

=> User Manual
– I recommend that you read this to get the most out of your board.
=> Quick Start Guide
– This tells you how to plug the thing into the thing.
=> 4 SATA 6Gb\s Ports
– Two straight and two 90 degree plugs
=> I/O Back plate
– You put this behind the PC for your back ports
=> Driver Disk
– It has everything you need to run the PC smoothly
=> STICKER
– EVERYONE LOVES STICKERS!!!!!!!!!!!!!!

And, of course, the motherboard.

SAM_1808

Check that thing out… What a BEAUTY!

The heatsinks actually shines bright ‘cause of the light. You can’t see it here but it does, and all I can say is, WOW.

SAM_1810

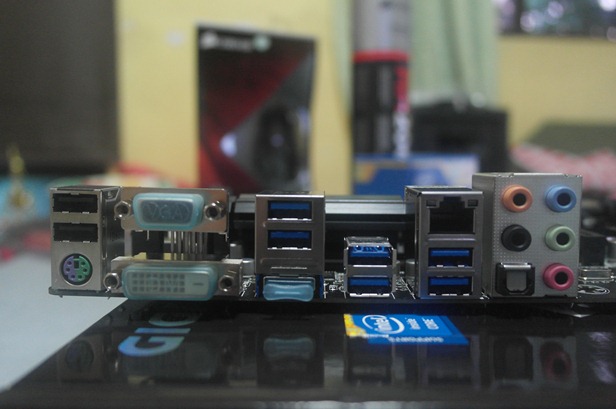
Moving on to the back we’ll find:

=> 2 USB 2.0 ports
=> 1 PS/2 port
=> 1 D-Sub port
=> 1 DVI-D port
=> 1 HDMI port
=> 6 USB 3.0 ports
=> 1 Intel Gigabit Ethernet LAN port
=> 1 optical S/PDIF Out connector
=> 5 Audio Jacks

SAM_1811

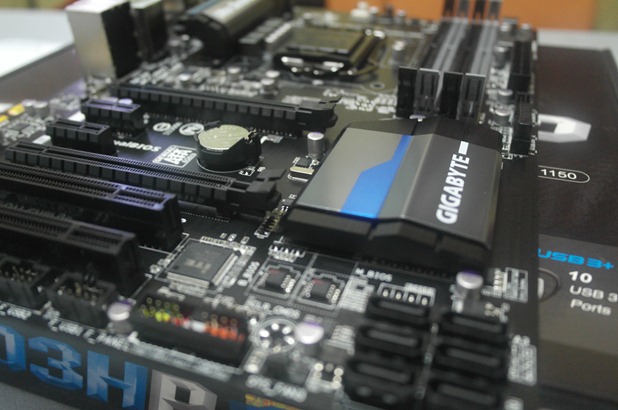
On the board, you’ll find:

=> LGA 1150 socket
=> 4 DDR3 RAM slots
=> 1 PCI Express x16 slot, running at x16
=> 1 PCI Express x16 slot, running at x4 (only for Crossfire Configuration, SLI not supported)
=> 2 PCI Express x1 slots (if you still have those)
=> 2 PCI slots
=> 6 SATA 6Gb\s ports
=> 2 USB 3.0 front panel connectors
=> 2 USB 2.0 front panel connectors
=> 1 Front panel Audio

For power, you’re going to need:

=> 1 24 pin ATX main power connector
=> 1 8 pin ATX 12V power connecter

that’s all you need to run the power for the board. All others are for the video card, hard drives, SSD’s, fans, lights and the likes.

for the full list of connectors, visit: http://www.gigabyte.com/products/product-page.aspx?pid=4519#sp

Another shot of the Gigabyte Z87-D3HP

SAM_1809

More unboxings to come soon!
Don’t forget to hit that “like” and “share” button for Facebook and Twitter, it helps me out a lot!
Follow my blog to keep yourself up to date with my posts!
PC Myths Debunked! Part 1
PC Myths

I think it is finally time for people to actually know the REAL FACTS about Personal Computers and not just the myths that their friends or neighbors tell them about.

But this post is mostly about GAMING PC’s. Future posts will include Myths about any everyday PC’s out there.

1. Gaming PC’s are EXPENSIVE
    – YES that is indeed true. It is really more expensive than a typical Xbox or Play Station. While that is true, Gaming PC’s are actually a full fledged computer where you can literally do more than just play games. You can also browse the web, access your e-mail and all that good stuff in one big package.

2. You need an Intel Core i7 to play games
    – This one is a BIG BOGUS. i7’s are made for PC workstations and for people who do heavy graphics designing, edit and render at high resolutions and other CPU intensive applications/programs. It can also be used for gaming but it’s like you just threw money out of your wallet. This is an Overkill Build. YOU DO NOT NEED THIS. Games are more GPU intensive than CPU. An Intel Core i5 will serve you well than an i7 would in terms of gaming. Use the excess money to buy a better GPU.

3. 1GB vs 2GB Video card bandwidth memory

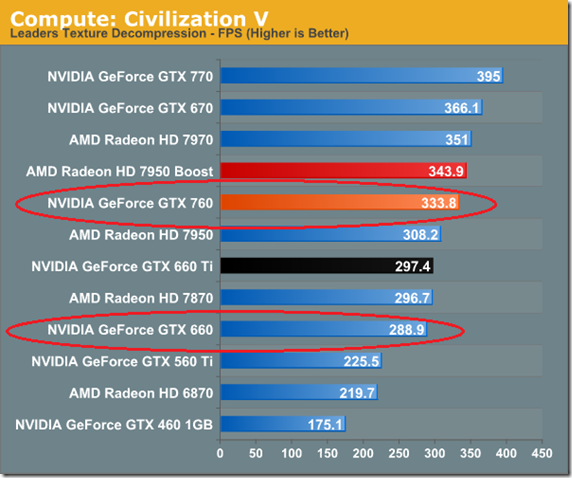
– With one monitor running at 1080p, you’ll do fine with 1GB. 2GB or more is needed if you’ll be setting up at least 2 or 3 monitors. The real attention that you should give when buying a video card is it’s Architecture. Take for example Nvidia’s GTX 660 and a GTX 760. Both are sold with 2 Gigabytes of video memory but these graphics card don’t perform the same as each other. They both have different number of CUDA cores enabled in them which is why they perform differently with the performance of the GTX 760 winning over the GTX 660.

Here is an example benchmark of the two different graphics card taken from anandtech.com

55850

photo source: http://www.anandtech.com/show/7103/nvidia-geforce-gtx-760-review/15
more sources: http://www.tomshardware.com/reviews/geforce-gtx-760-review-gk104,3542.html

4. When buying a Gaming PC.. You need to get all the extra bells and whistles
    – NO. While it certainly looks rad to have colored LED strips in your new PC to make it look cool and awesome, you don’t really need it. If you have extra cash to spare, you can but it won’t really affect it’s performance.

5. Building a PC on your own is hard
    – While it is really scary to build your own PC by yourself because you might break something or because it looks intimidating with all the wires and stuff, it’s not. It’s just like building LEGOs, but for adults. Basically you just plug the thing to the thing or wherever it fits, lol. But seriously though, it isn’t that hard. Just always make sure that you read the instruction manual that comes out with the box. Oh yeah, and always make sure that you are free from STATIC ELECTRICITY whenever you try to touch your components. To do this, you can either touch the Power Supply (turned off, but plugged in the power socket) once in a while tinkering with the components or buy an anti-static wrist band (I can’t find one here at my local hardware store, sadly). If you don’t, you might accidentally electrocute the component. If this happens, it could die instantly.

More PC Myths coming soon!

Why you should consider buying Mechanical Keyboards

slider_3-590x250 copy

Usually, the most widely used part of the computer is what’s mostly taken for granted. These are the ones where you go on and buy a new PC which comes bundled with a keyboard + mouse and the ones where you can buy those cheap boards at cd-r king with the hello kitty design and all that stuffs.

Sure, it gets the work done but does that finished work equate equally to the amount of stress that your hands get after punching down on those some hard and some soft keys?

Most people nowadays use the so called “Membrane keyboard” which is basically a rubber dome switch. It works as it’s intended but it wears out easily over time. If you owned a membrane keyboard for a long time, you will surely notice that the most used keys start to be easier or lighter to press than the ones that you rarely use. This creates an effect that makes you feel that some parts of the keyboard gets harder to press which, in turn, makes you punch down harder on the keys.

Now, there is a technology that is coming back to the market ever since it was turned down because of its high cost in manufacturing. This is called the Mechanical Keyboard.

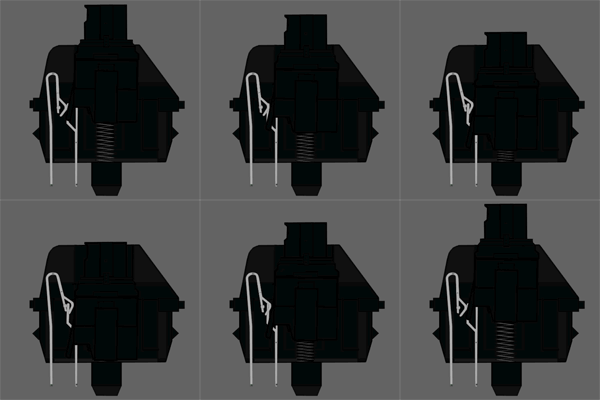
Mechanical Keyboards are keyboards that have every individual key linked separately on a mechanical switch. It allows for faster response time since you don’t have to press down all the way on a key (mostly only halfway down). This makes typing easier and more stress free for the fingers.

Most Mechanical Keyboards, nowadays, are marketed to people who mostly plays games.

The company Cherry supplies most of the switches that are being made by keyboard manufacturers.

There are 4 most common Cherry MX switches that are being used in the market

Cherry MX Blue
blue switch

Type: Tactile Clicky Switch
Tactile: Yes
Clicky: Yes
Actuation force: 50g
Key Travel: 2mm to actuation, 4mm to bottom

Cherry MX Brown
brown switch

Type: Tactile Switch
Tactile: Yes
Clicky: No
Actuation force: 45g
Key Travel: 2mm to actuation, 4mm to bottom

Cherry MX Red
red switch

Type: Linear Switch
Tactile: No
Clicky: No
Actuation force: 45g
Key Travel: 2mm to actuation, 4mm to bottom

Cherry MX Black
black switch

Type: Linear Switch
Tactile: No
Clicky: No
Actuation force: 60g
Key Travel: 2mm to actuation, 4mm to bottom

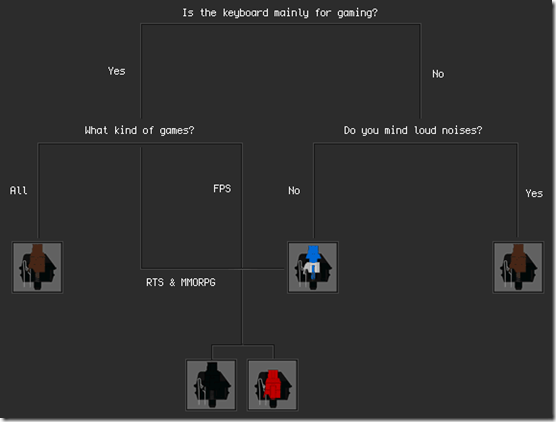
Here is a fast buyers guide chart to help you decide on which type of switch you should pick.

chart

Some people love to hear loud clicky sounds while typing and some don’t. Some love lighter key and some love heavier ones. By the end of the day, it all comes down to personal preferences.

Of course, with quality product comes a high price tag.

Most mechanical keyboards are priced at around Php 5,000. It costs a lot but if you think about it, it will last longer and will feel a whole ton better than a regular keyboard.

If you know that you use a PC for more than or at least 4 hours a day, I would definitely recommend you to upgrade to a mechanical keyboard. If you rarely use a PC and mostly use a laptop, then I’d say stick to what you have because it might not be worth the money.

If you still have more time, you should definitely check out this article for more info about mechanical keyboards.
http://www.pcworld.com/article/240939/mechanical_keyboards_should_you_switch_.html

Razer Lycosa Mirror Special Edition

This unboxing has been done 2 years ago, I took a lot of pictures so that when I make a blog, I can post about it.

I bought this membrane keyboard at PC Express – Makati Cinema Square, Pasong Tamo Branch. The staffs there are VERY accommodating. I have been buying PC parts there ever since I switched my graphics card to an EVGA GeForce GTX 560.

P5310248

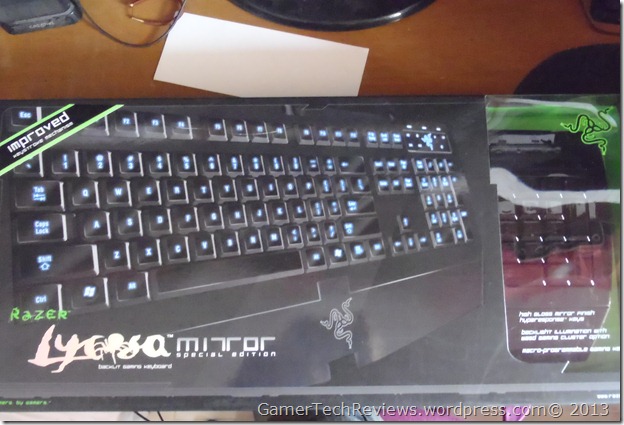
So here is the whole box of the Razer Lycosa Mirror Special Edition.

Here’s some more close-up shots of the nomenclatures on the front side.

P5310246 P5310247

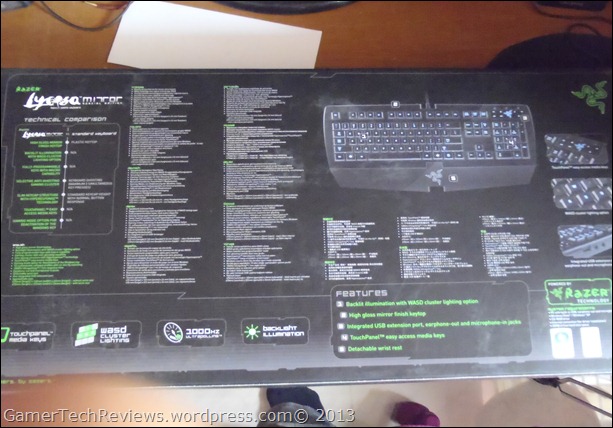
Here’s the back side of the box.

P5310251

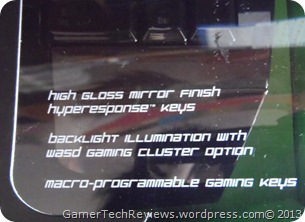
If you can’t see it clearly, here’s the most important reads that you must know about it.

– It has a touchpanel media key located at the upper right side of the board.
– Blue Backlit keyboard.
= the board has 3 types of lighting mode.
=> Full keyboard lighting.
=> WASD cluster lighting.
=> OFF
– 1000Hz polling rate.
– A detachable wrist rest
– High gloss black mirror finish
– A USB extension and an in-line audio in and out 3.5mm jack at the back of the keyboard

So as you slide it out of the box, you’ll see:

– A Certificate of Authenticity from Razer
– The whole Product Catalog of Razer
– The Keyboard manual
– A Microfiber cleaning cloth (This is VERY USEFUL)
– 2 sets of Razer Logo stickers (Everyone loves stickers!!)
– A driver disc (Don’t use that, download the latest drivers from Razer’s official website)
– And of course, the keyboard!

P5310283P5310288P5310289P5310298

Here’s some more glamour shots of the keyboard in action!

P6020319

P6020320

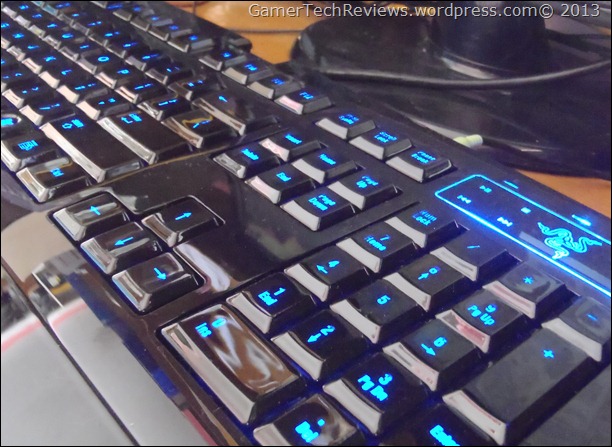
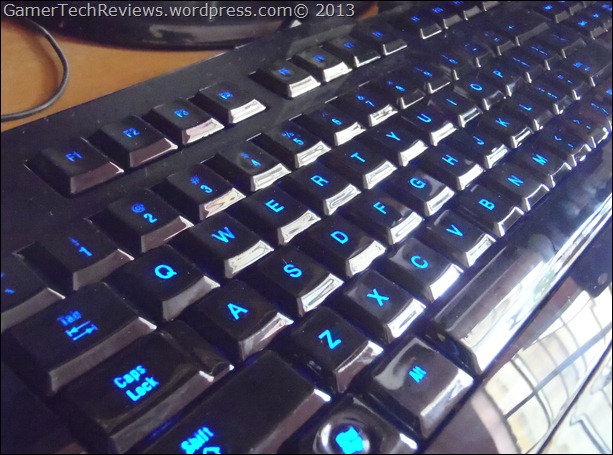
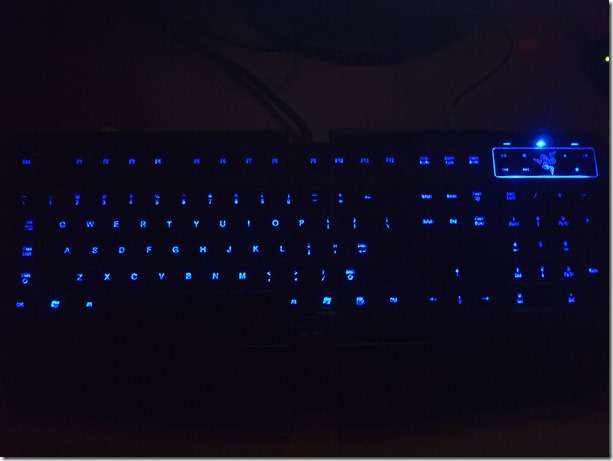
I must say, the keyboard’s backlight really shines bright even though you are in  a well lit room.

Here’s a shot of keyboard in the dark.

PB210334

The keyboard is like a fingerprint magnet due to its glossy finish. I’ve been using it for 2 years now and it does not look as shiny as it was 2 years ago because I lost the cloth that they included with it. But good thing there’s an included microfiber cloth so that you can clean the outside of the keyboard, until you suddenly misplace it. +1 to Razer for that!

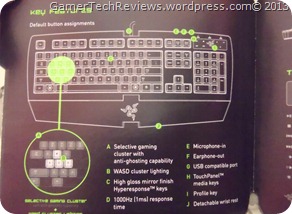
The media keys also will help you a whole ton when you want to adjust your volume or play the next song in your gaming playlist on-the-fly. There is a “gaming mode” that you can set the keyboard into. All you need to do is to press the Razer logo on the media panel then press the windows key. Now, you won’t have to deal with the sudden opening of the start menu while you fight off a hoard of zombies in Black Ops 2 or in any game that you might be playing.

The keyboard includes a software for Razer Lycosa that will allow you to create, modify and edit macro keys. I barely used that software since I mostly play FPS games but it’s a nice little handy tool for those RTS gamers who always needs to punch down a combination of keys to create a spell.

The only difficulty that I have encountered after using this keyboard for 2 years is that the keys tend to be harder to press overtime, especially the buttons that you rarely use.

All in all, I would DEFINITELY recommend this keyboard for those people who game all night long. They will greatly benefit from the blue backlit keys.

PC Express price – Php 3,700

Razer has also just released Synapse 2.0 compatibility for the Razer Lycosa mirror edition.
This will allow your keyboards’ macro settings to be saved on the cloud so that you can take your settings anywhere you go!